Showing 33–48 of 102 results
-
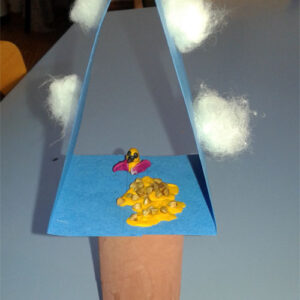
The day before, paint the rolls with the children in any color. Next, we cut out a rectangle from a piece of bristol and fold it so that it forms a triangle - the roof of the feeder - and join it with a staple. Children make a bird out of Plasticine and place it in the feeder. They also put grains of wheat and oats on the Plasticine. On the roof of the feeder we glue cotton wool - snowflakes. Now only with the help of glue (magician) we place the canopy on the roll. Material used:Read more
- roll
- poster paint
- magic glue
- cotton wool
- plasticine
- grains
- bristol
- scissors
- stapler
-
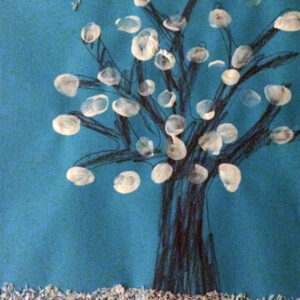
On a blue sheet of paper, children draw a tree with crayons. The children make snow under the tree and clouds above the tree out of coconut chips sprinkled on a glue covered sheet. They paint snow on the trees with fingers dipped in white paint. Material used:Read more
- blue colored cards
- glue
- crayons
- white paint
- coconut shavings
-
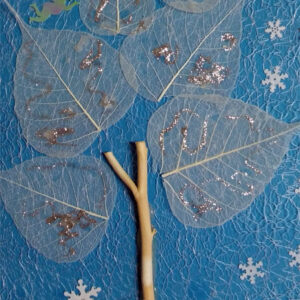
Glue the lace/mesh on the blue cardstock with magic glue. Glue a white stick in the center of the cardstock and white leaves above it. Decorate the whole thing with glitter, snowflakes and angels. Material used:Read more
- blue cardboard
- white stick
- decorative lace
- white leaves
- magic glue
- snowflakes, angels
-
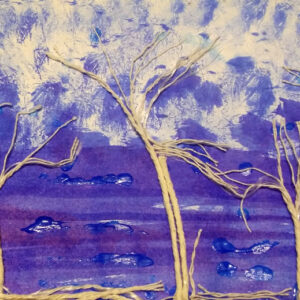
Fold the photocopy paper in half. Pour a small amount of blue ink in the center of the paper.Spread the ink over the cardstock (rolled up fairly thickly) with a paper towel). Then stamp the top of the card with the previously inked towel. Cut small pieces of string. Twist some of the string into individual strands and create trees from them. The magic glue changes the color of the ink to a lighter color, so that it is not changed only in the place of gluing the trees we can additionally grease some places of the cardboard with glue. Material used:Read more
- blue ink
- paper towel
- white string
- glue
-
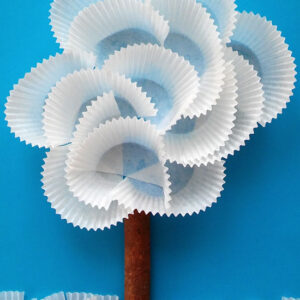
Glue a cinnamon stick - the trunk of the tree - in the center of the cardboard. Cut the cupcake molds in half. Glue them in different directions over the trunk to form a winter tree. At the bottom we place small pieces of the molds - snow. Material used:Read more
- cardboard
- cinnamon stick
- cupcake molds
- glue
- scissors
-
The day before, children soak conifer twigs in white paint and reflect them on blue card to create snow stars. The next day they glue on cotton balls to create a snowman. They glue the following cut out from colored paper: pot, buttons, carrots (older children cut out these elements by themselves, younger children prepare them by the teacher). Material used:Read more
- twigs of coniferous wood
- white paint
- cosmetic pads
- blue card
- colored paper
- scissors
-
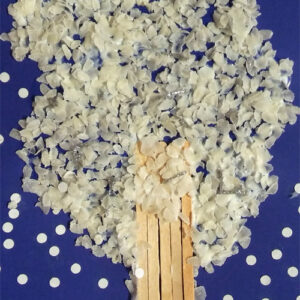
Glue the sticks side by side in the center of the cardstock. Make the crown of the tree by gluing instant rice cereal. Clouds - paper napkins. Snow falling are circles made with a hole punch. Material used:Read more
- blue cardboard
- instant rice cereal
- paper napkins
- glue
- punch
- white circles (made with a hole punch)
-
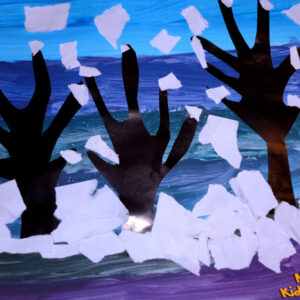
The day before, children prepare the background by painting horizontal stripes with cold colors of poster paints. Before the work dries we sprinkle it with glitter. The next day children glue tree branches cut out from colored paper (older children cut them out by themselves) and pieces of white paper creating snow. Material used:Read more
- sheet of paper
- paints
- paintbrush
- colored paper
- scissors
- white card
- loose glitter
- glue
-
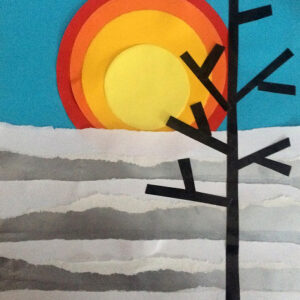
Stand the blue card upright, then glue circles at the top of the card - starting with the largest red one. After gluing the circles on, tear the white and silver card into irregular strips and glue them onto the card, starting by putting the first strip on the "sun". Glue the white and silver strips to the bottom of the card. Cut the black paper into strips and glue them so that they overlap slightly with the sun. In this way we will create a tree. Material used:Read more
- colored paper: blue, white, silver, black
- circles of paper: red, orange, dark and light yellow
- scissors
- glue
-
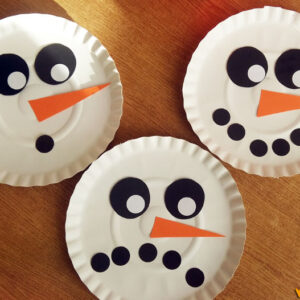
To make the work we need three paper plates and two sizes of black paper circles cut out of black paper. On the plates we put eyes from circles, a nose from an orange technical block in the shape of a triangle and different faces from black circles. We put a sad face on one snowman, a smiling face on another, and a surprised face on a third. In this way we can make any other emotion. Material used:Read more
- paper plates
- black and orange technical block
- magic glue
- scissors
-
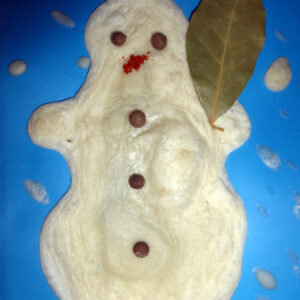
Prepare "growing" paint by mixing water, flour and salt in equal proportions (1:1:1). You can add dye from poster paint. Paint the snowman with this paint and decorate with allspice and pepper (eyes and buttons). We make a broom from a bay leaf and a nose from paprika powder. So prepared snowman we put in the microwave for 30 to 60 seconds, temperature 180 degrees C. Material used:Read more
- flour
- water
- salt
- glitter
- allspice
- pepper
- bay leaves
- paprika powder
-
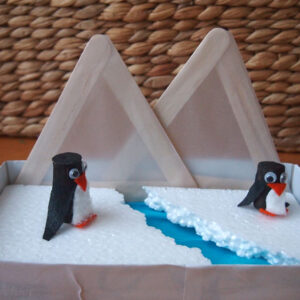
Cut a tissue box in half and tape it with white paper. In the middle we stick blue tissue paper. Glue pieces of Styrofoam to the tissue paper - ice floes. From spatulas, glue triangles together and glue them with transparent paper - these will be icebergs, which we attach to one of the walls of the box. Paint wine corks black. From white cotton balls cut out penguin bellies and stick them on the corks. From the orange felt, cut out the beaks and fins of the penguins and stick them in the appropriate places. Stick the eyes above the beaks. Cut out wings from black tissue paper and glue them on the sides of the corks. Place the penguins on a crag made of styrofoam. Material used:Read more
- tissue box
- white adhesive paper
- styrofoam
- 2 wine corks
- black paint
- cotton pad
- blue and black tissue paper
- 6 wooden spatulas
- transparent paper
- moving eyes
- orange felt
- glue
- scissors
-
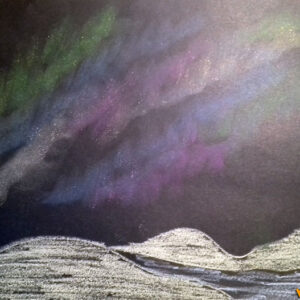
On black paper, we sprinkle different colors of crushed crayons. Then we smear them with our finger. On the bottom part of the paper, we draw snow mountains with white chalk. Material used:Read more
- black paper
- crayons
- a planer to crush crayons
- white chalk
-
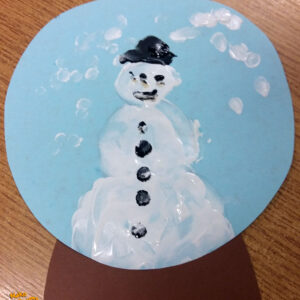
Cut out a circle shape from a blue A4 sheet of paper on which the child paints a snowman with his finger using white poster paint. He paints snowflakes around the snowman and glues its stand under the ball. Material used:Read more
- circle template
- blue and brown drawing block
- white and black poster paint
-
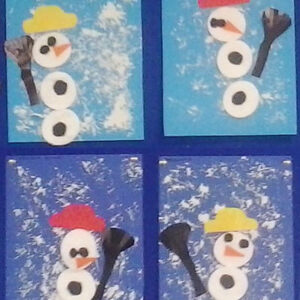
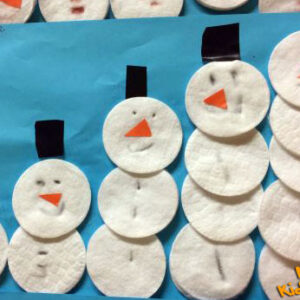
From cotton pads, glue snowmen in such a way that each successive snowman is 1 ball larger. We glue on a hat and a carrot from colored paper. We add eyes, a face, and buttons using markers or crayons. Material used:Read more
- blue colored paper
- cosmetic pads
- black and orange colored paper
- scissors
- glue
- crayons or markers
-
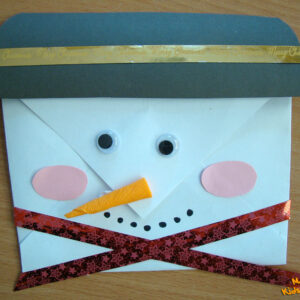
On the envelope we glue the eyes and draw a face. We cut out circles (cheeks) from colored paper and roll a nose from crepe paper. We cut out a hat, add a ribbon and glue all the elements. What's left is to make a scarf for the snowman out of decorative ribbon. Material used:Read more
- envelope
- colored paper
- ribbons
- crepe paper
- movable eyes
- glue
- marker
- scissors
