

Thread thread and use a needle to apply wet poplar leaves and a face. We make a face out of paper. To prevent anything from falling off the thread, secure both ends with beads on which the thread is knotted. The bead on the head will serve as the nose of the caterpillar.
Material used:
- leaves
- needle and thread
- paper
- markers
- scissors
- beads
Related products
-
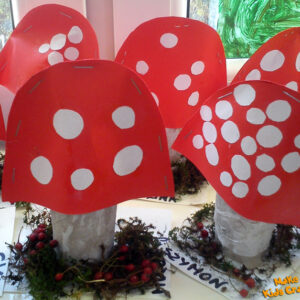 Tape a toilet paper roll with white tissue paper, then glue white dots onto cardboard two red half circles. Staple the mushroom hat to the sides. The next step is to put the hat on the foot of the mushroom. Glue washed and dried forest moss onto the cardboard base and finally glue the toadstool on. Material used:Read more
- toilet paper roll
- glue and magic glue
- scissors
- white tissue paper
- white circles of paper
- red cardboard
- dried moss
- stapler
- cardboard as a stand
-
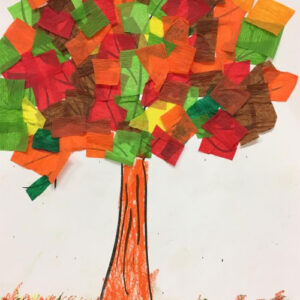 Children prepare the background, on a sheet of white A4 paper they paint with a thick brush with watercolor paints vertical stripes in autumn colors. While the work is drying, the children prepare 4 tree crowns. They draw two crowns on a piece of newspaper with a marker and two crowns on grey paper. Then they try to cut them out along the lines. They glue autumn leaves on the two selected crowns in the form of tissue paper squares. Then, on a white sheet of paper, they draw an autumn animal of their choice: hedgehog, squirrel, or fox. They cut it out. On the dried piece of paper, they glue a strip of grass at the bottom, then tree crowns, small rectangles as trunks, and the animal and leaves. Material used:Read more
- tree template
- squares, rectangles of blotting paper in autumn colors: yellow, orange, red, purple, green, brown
- pastels: brown, light green, dark yellow
- glue stick
-
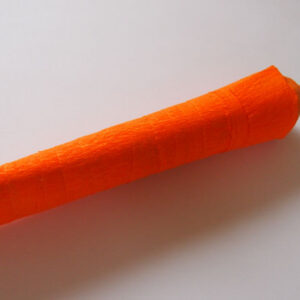 From orange tissue paper cut a strip about 2 cm wide, wrap it around the toothpaste tube starting from the bottom. At the top stick it with office glue. Glue the top of the tube with Plasticine. Fold the rubber band in half and put it in the hole. The carrot is ready! Material used:Read more
- toothpaste tube
- orange tissue paper
- orange plasticine
- green rubber band
- office glue
-
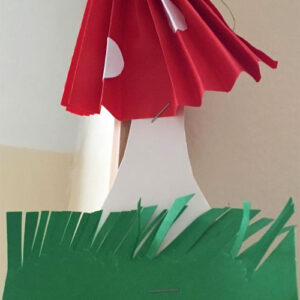 The children glue white circles on the red card and fold the card into an accordion. They cut the green card in half. They try to cut close to each other to make thick grass. On a white piece of paper, they trace the mushroom's foot from a template and cut it out. The teacher sews all the elements together, makes a hole in the top of the accordion with a hole punch, threads the string through and makes a knot. The mushroom is suitable for hanging in the classroom. Material used:Read more
- red sheet of paper format A5
- a green sheet of paper A6 (half of A5)
- a white sheet of paper A6 size
- pencil
- 3-5 white circles
- glue
- scissors
- stapler
- string length of about 50 cm
Reviews
There are no reviews yet.