

On a colored sheet of paper, draw any patterns you like, then cover them with a thicker layer of glue. Sprinkle the card with sugar. Shake off the excess sugar. Finally, sprinkle with glitter and leave to dry.
Material used:
- colored technical block
- wikol glue
- sugar
- glitter

Related products
-
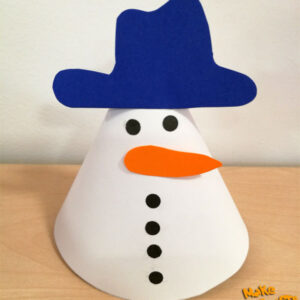 Cut out a circle and cut it in half. Roll it into a cone. Glue or connect with a stapler. Cut out a nose and a hat. Glue the individual elements to the snowman. Material used:Read more
- white and coloured technical block
- traced circle
- circles made with a hole punch
- glue
- scissors
- stapler
-
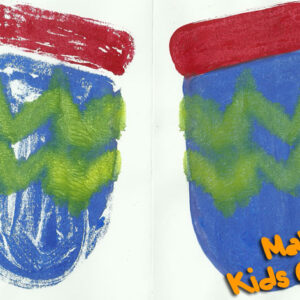 Fold a white sheet of paper in half, open it and trace the outline of a glove on one half. Fill in the outline quickly with poster paints, and finally fold the sheet once again (in the same place as at the beginning), "iron" for a moment with your hand, and open it again. On the sheet of paper should be reflected the second image of a glove, and in this fast way we have a pair! Material used:Read more
- technical block
- poster paints
- water
- brush
-
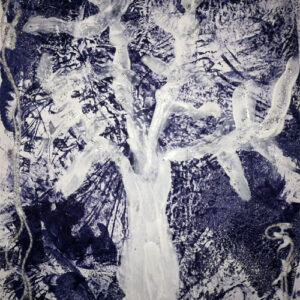 The cardboard must be prepared by an adult. Crumple the tracing paper, spread it on the cardboard and iron it with a hot iron. Repeat the process several times to fill the whole sheet of paper. Mix white tempera paint with magic glue and silver glitter. Use your finger to paint a winter landscape. Glue on white wool. Material used:Read more
- technical block white
- tracing paper
- glue
- wool
- glitter
- white tempera paint
-
 Glue a blue piece of paper cut into a fancy shape onto a white piece of technical side paper. We glue caps, make buttons, eyes and mouth from black Plasticine. Cut out or give children the snowman's accessories: hat, broom and nose. All the elements are glued on with plasticine. Material used:Read more
- three white caps
- office glue and wikol
- color block and white
- scissors
- plasticine
Reviews
There are no reviews yet.