Showing all 4 results
-
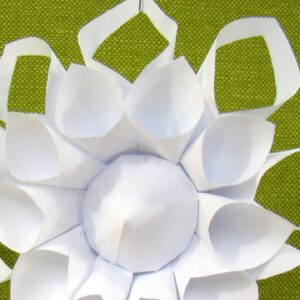
Cut out 10 each of the larger and smaller teardrop shapes (drops) from the paper. Inside the large drops cut out a teardrop shape with two tops. From a stiff piece of paper cut out a circle with a diameter of about 7 cm. Grease the drop with glue on one side of the hole and glue it together forming a pointed cone. Glue small drops in a similar way. To a circle of stiff card glue large cones so that their tops touch each other. The lower part of the cones flatten, lubricate with glue and paste the small cones. Their center also flatten. From a square sheet of paper cut out a circle and cut it from the edge to the center. Slide the parts over each other and glue to form a cone slightly larger than the flattened center of the cones. Cut the edges of the cone and fold under the bottom, so that it fits into the flattened part of the snowflake. Brush the cut edges with glue and glue to the inside of the snowflake. The finished Snowflake can decorate, for example, our window. Material used:Read more
- 4 white A4 sheets
- technical block
- glue
- scissors

-
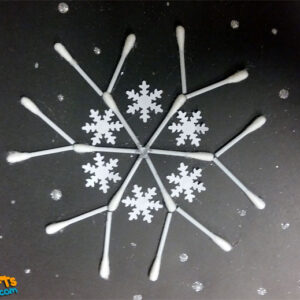
For this work we need 9 ear sticks, which we cut in half. On a piece of black card glue a six-pointed star made of the halves of sticks, at the top of each arm glue two halves of sticks to form the arms of the Snowflake. In addition, between the arms of the snowflake paste snowflakes cut from the punch. Around the snowflake make dots with Magic glue and sprinkle with silver glitter. Material used:Read more
- black A4 paper
- 9 ear buds
- magic glue
- scissors
- snowflakes cut out with a hole punch
- loose glitter in silver
-
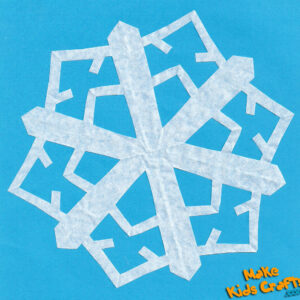
A teacher folds a paper napkin or a piece of greaseproof paper (as showed in the video film). Children’s task is to cut a flexure of a shape which has been created after bending in any manner. A shape created after unfolding is a unique (since each time one can cut it in a different way) snowflake. Material used:Read more
- breakfast paper
- scissors
- blue card
