

From cotton pads, glue snowmen in such a way that each successive snowman is 1 ball larger. We glue on a hat and a carrot from colored paper. We add eyes, a face, and buttons using markers or crayons.
Material used:
- blue colored paper
- cosmetic pads
- black and orange colored paper
- scissors
- glue
- crayons or markers
Related products
-
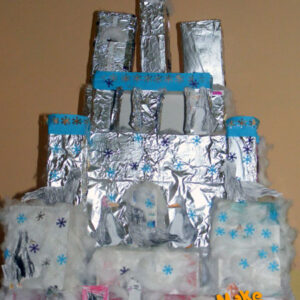 Cut a rectangular piece from corrugated cardboard and twist one end. Glue the middle piece from the matchbox to the cardboard. Put a man made of Plasticine into the toboggan. Such a toy can be successfully used by children for great fun. Material used:Read more
- boxes
- cotton wool
- aluminum foil
- tissue paper
- scissors
- glue
- double-sided tape
- items to decorate
-
 Cut the paper plate in half making a hat shape. Glue it on the cardboard. Cut out a circle (pom-pom) and glue it over the plate. Decorate the plate (hat) by stamping it with a finger dipped in poster paint. Cut yarn into small pieces 1-2 cm. Glue the pieces of yarn on the circle decorating the pom-pom and the winter hat is ready. Material used:Read more
- technical block
- glue
- scissors
- paper plate
- poster paints
- colored yarn
-
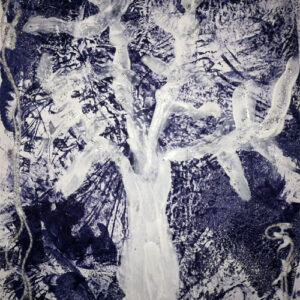 The cardboard must be prepared by an adult. Crumple the tracing paper, spread it on the cardboard and iron it with a hot iron. Repeat the process several times to fill the whole sheet of paper. Mix white tempera paint with magic glue and silver glitter. Use your finger to paint a winter landscape. Glue on white wool. Material used:Read more
- technical block white
- tracing paper
- glue
- wool
- glitter
- white tempera paint
-
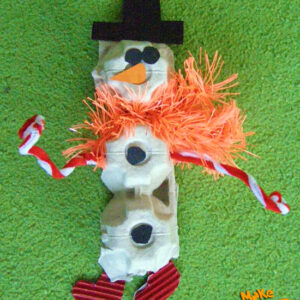 Cut out 2 shoes from red card stock, a triangle from orange card stock, 4 small circles and a hat from black card stock. Glue into a triple egg mold, top with a black hat, then on the first bulge 2 circles and a triangle. Next, string a Christmas tree chain between the two bulges and glue two black circles under it. Punch a decorative wire in the middle and glue shoes cut from red waffle card to the very bottom. Material used:Read more
- glue
- scissors
- christmas tree chain
- paper Egg Cup
- colorful decorative wire
- red corrugated card
- black sheet of technical paper
- orange sheet of technical paper
Reviews
There are no reviews yet.